
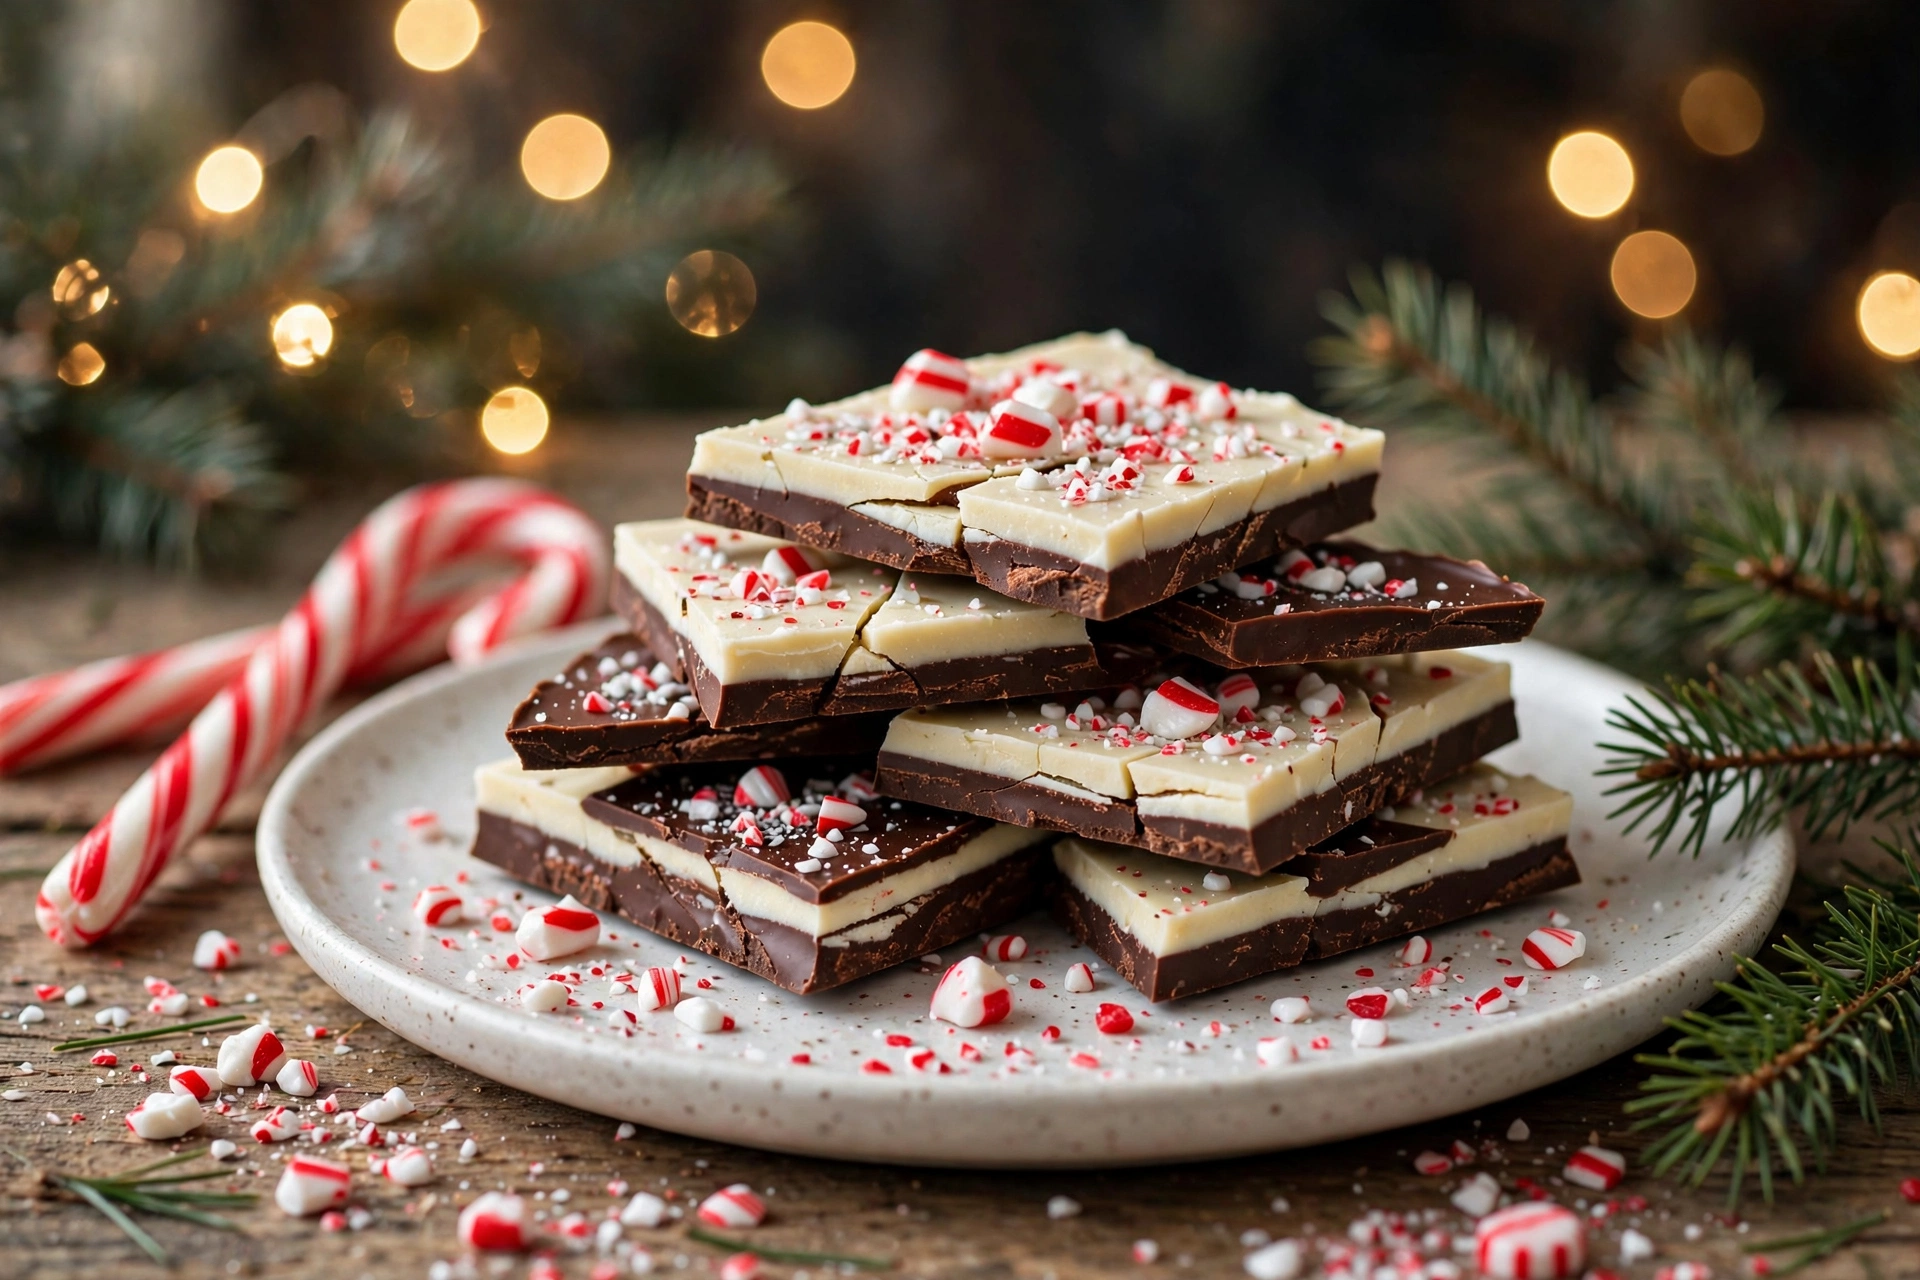
There’s a reason easy chocolate peppermint bark shows up in every holiday gift guide: it looks impressive, tastes like a candy shop, and takes about 20 minutes of actual work. Two layers of chocolate — dark and white — with crushed candy canes on top and a cool peppermint hum running through both. I’ve made dozens of batches as gifts, and the layering technique below is what gives you that clean snap and those beautiful distinct layers instead of a marbled mess.
This is also the most forgiving holiday candy I know. No candy thermometer, no tempering, no special equipment. Just good chocolate, a microwave or double boiler, and a little patience between layers. If you can melt chocolate, you can make bark that looks like it came from a chocolatier.
Why You’ll Love This Recipe
- 5 ingredients. Chocolate, chocolate, peppermint, candy canes, and a pinch of salt. That’s it.
- No special equipment. A microwave, a sheet pan, and parchment paper.
- Perfect snap every time. The layering technique below keeps the layers distinct and snappy.
- Ideal for gifting. Breaks into gorgeous shards, keeps for weeks, and packages beautifully.
- Make-ahead holiday hero. Make it in early December; it keeps until Christmas and beyond.
Ingredients
- 12 oz good-quality dark or semisweet chocolate, chopped — Use real chocolate (bars or callets), not chocolate chips if you can. Chips contain stabilizers that resist melting smoothly and give a waxy snap. I like 60–70% dark for the base layer — the slight bitterness balances the sweet white chocolate.
- 12 oz good-quality white chocolate, chopped — Same rule: real white chocolate with cocoa butter, not “white chips” or candy melts. Check the label for cocoa butter. Cheap white chocolate seizes and tastes like wax.
- 1 tsp peppermint extract — divided between the layers. Use pure peppermint extract, not mint extract (mint is spearmint-ish and tastes like toothpaste here). And measure carefully — too much peppermint extract turns bitter.
- 6–8 candy canes, crushed — about 1/2 cup of crushed pieces. See my crushing method below for the perfect mix of dust and chunks.
- Pinch of flaky sea salt — just a whisper on top; it makes the chocolate taste more chocolatey
A note on chocolate quality. This recipe is 95% chocolate, so the chocolate IS the recipe. Mid-range baking bars (the kind sold in the baking aisle) work beautifully. The one time I made this with bargain chocolate chips, the layers were dull, soft, and waxy — the difference is real and it’s worth the extra two dollars.
How to Make It
Step 1: Prep. Line a rimmed quarter-sheet pan (9×13 inches) or a regular sheet pan with parchment paper, leaving overhang on two sides for easy lifting. Crush the candy canes: place them in a zip-top bag, seal it, and whack with a rolling pin or meat mallet until you have a mix of fine dust and pea-sized chunks. Sift out the very fine dust through a coarse sieve if you want cleaner-looking bark (save the dust for hot chocolate).
Step 2: Melt the dark chocolate. Place the chopped dark chocolate in a microwave-safe bowl. Microwave in 30-second bursts, stirring well between each, until about 90% melted — then stir until the residual heat melts the rest. (This gentle method keeps the chocolate glossy.) Stir in 1/2 teaspoon of peppermint extract.
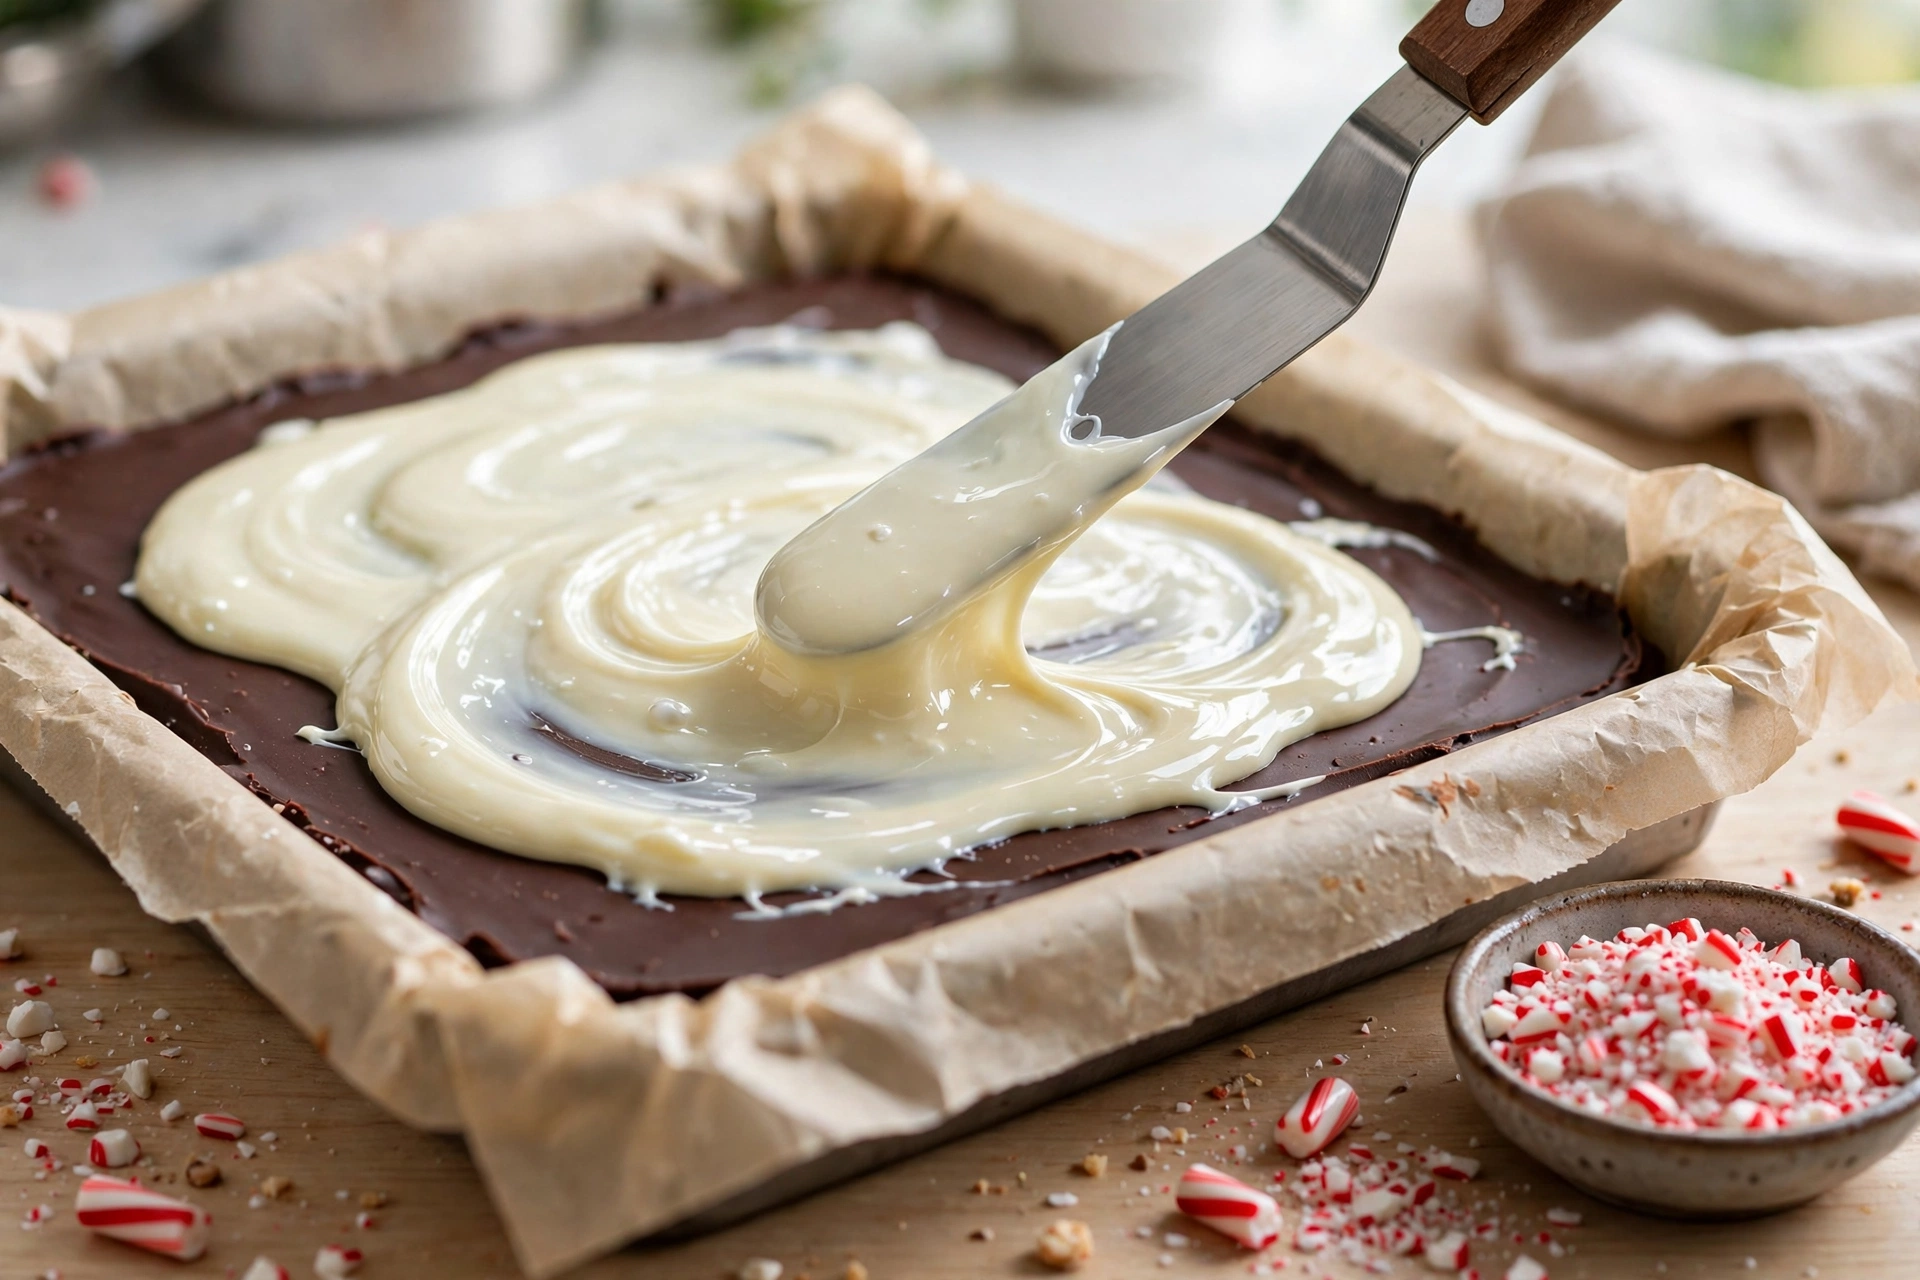
Step 3: Spread the dark layer. Pour the dark chocolate onto the prepared pan and spread into an even layer about 1/4 inch thick, reaching nearly to the edges. A small offset spatula is perfect here. Refrigerate for 15–20 minutes, until firm to the touch but not ice-cold — this is the key to the layers bonding without bleeding.
Step 4: Melt and spread the white layer. Melt the white chocolate the same gentle way — white chocolate scorches even faster than dark, so go 20-second bursts and stir constantly at the end. Stir in the remaining 1/2 teaspoon of peppermint extract. Pour over the firmed dark layer and spread gently and quickly into an even layer. Work fast and don’t over-spread — agitating the layers too much causes marbling.
Step 5: Top it. Immediately sprinkle the crushed candy canes evenly over the white chocolate, then the pinch of flaky salt. Press the larger candy pieces in very gently with your palm so they adhere.
Step 6: Chill and snap. Refrigerate for at least 1 hour, until completely firm. Lift the bark out by the parchment overhang and break into irregular shards with your hands — or cut with a large sharp knife for cleaner pieces. The irregular shards look more artisanal; go with your vibe.
For a full peppermint dessert spread, pair this with my Candy Cane Cheesecake Bars — the creamy bars and snappy bark are a perfect texture contrast on a holiday dessert table.
Pro Tips
The layering technique — why it works:
- Firm but not frozen. The dark layer must be set enough that the warm white chocolate doesn’t melt into it (marbling), but not so cold that the layers refuse to bond and slide apart later. Fifteen to twenty minutes in the fridge is the sweet spot — firm to a fingertip tap, still at cool room feel.
- Spread, don’t stir. Once the white chocolate hits the dark layer, spread it in smooth strokes and stop. Every extra pass risks dragging dark chocolate up into the white.
- White chocolate is fussy. It seizes at the slightest hint of water and scorches above about 110°F. Melt it gently, keep everything bone dry, and stir more than you microwave.
More lessons from many batches:
- My seized-chocolate disaster: One December I used a bowl with a few drops of water in it for the white chocolate. It seized into a grainy, unspreadable lump instantly. If your chocolate seizes, you can sometimes rescue it by stirring in a teaspoon of neutral oil — but prevention (dry bowls, dry spatulas) is everything.
- Peppermint extract, not oil. Peppermint oil is far more concentrated and can taste medicinal. Stick with extract, and don’t exceed 1 teaspoon total — I tried 1 1/2 teaspoons once and the whole batch tasted like cough drops.
- Cutting vs. breaking. Breaking gives rustic shards; cutting with a warmed knife gives clean rectangles for gift boxes. Warm the knife under hot water, dry it completely, then cut.
- Bloom happens. If your bark develops a whitish film (fat bloom), it’s still perfectly fine to eat — it’s just cocoa butter rising to the surface from temperature swings. It won’t happen if you store it cool and steady.
Variations
- Triple chocolate: Add a middle milk-chocolate layer — dark, milk, white. Stunning cross-section.
- Espresso peppermint: Add 1 teaspoon of instant espresso powder to the dark chocolate layer.
- Salted caramel: Drizzle the white layer with caramel sauce and sprinkle flaky salt instead of candy canes.
- Nutty bark: Replace candy canes with 1/2 cup of chopped toasted pistachios — gorgeous red-green contrast.
- Cookies and cream: Stir 1/2 cup of crushed chocolate sandwich cookies into the white layer.
Storage & Meal Prep
- Room temperature: Keeps 2–3 weeks in an airtight container in a cool spot (below 70°F). Layer pieces between parchment so they don’t stick.
- Refrigerator: Keeps a month, but let it come to cool room temperature before serving — ice-cold bark is too hard and the flavors are muted.
- Freezer: Freeze up to 3 months in a zip-top bag with parchment between layers. Thaw in the fridge, then bring to room temp.
- Gifting: Pack shards in cellophane bags tied with ribbon, or layer in a tin with parchment. Include a little card — homemade candy with a handwritten note is the gift people actually remember. A batch makes about 6–8 generous gift bags.
FAQs
Why did my layers separate?
The dark layer was too cold when you added the white chocolate — the layers couldn’t bond. Aim for firm-but-not-ice-cold (15–20 minutes in the fridge, not an hour).
Why is my white chocolate lumpy?
It either seized from moisture or overheated. Use a completely dry bowl, melt in short bursts, and stir constantly. If it seizes, try stirring in a teaspoon of coconut oil to smooth it.
Can I use chocolate chips instead of bars?
You can, but bars give a noticeably better snap and gloss. Chips contain stabilizers that make them hold their shape — great for cookies, not ideal for bark. If chips are what you have, add 1 teaspoon of coconut oil per 12 oz to help them melt smoothly.
How do I crush candy canes without making a mess?
Zip-top bag, rolling pin, one good whack at a time. Double-bag it — candy cane shards are sharp and will poke through a single bag.
Can I make this dairy-free?
Yes — use dairy-free dark chocolate and dairy-free white chocolate (several brands make cocoa-butter-based vegan white chocolate now). Check labels carefully.
How far ahead can I make peppermint bark for gifts?
Three weeks at cool room temperature, so early December batches are perfect for Christmas gifting.
Easy Chocolate Peppermint Bark
Prep Time: 20 minutes | Cook Time: 0 minutes | Total Time: 1 hour 30 minutes (including chilling) | Servings: 24 pieces
Ingredients:
- 12 oz dark or semisweet chocolate, chopped
- 12 oz white chocolate, chopped
- 1 tsp pure peppermint extract, divided
- 6–8 candy canes, crushed (about 1/2 cup)
- Pinch of flaky sea salt
Instructions:
- Line a 9×13-inch pan with parchment, leaving overhang. Crush candy canes in a zip-top bag.
- Melt dark chocolate in 30-second microwave bursts, stirring between; stir in 1/2 tsp peppermint extract.
- Spread dark chocolate 1/4 inch thick in the pan; refrigerate 15–20 minutes until firm but not ice-cold.
- Melt white chocolate gently (20-second bursts); stir in remaining 1/2 tsp peppermint extract.
- Spread white chocolate over dark layer quickly and gently; immediately top with crushed candy canes and salt.
- Chill at least 1 hour until firm; lift out and break or cut into pieces.
If you enjoyed this recipe, you’ll also love my 15-Minute Peanut Butter Noodle Stir-Fry with Frozen Vegetables.
Five ingredients, twenty minutes of work, and a tin of this makes you everyone’s favorite person in December — and if you’re building a peppermint-themed gift box, my Candy Cane Cheesecake Bars are the creamy counterpart this snappy bark deserves.
Second inline image prompt: Overhead shot of finished peppermint bark being broken into irregular shards by hands, clean snap lines showing the two chocolate layers, parchment paper underneath, festive and inviting, food photography, no text in image